Not too long ago, after reading a blog post called “The secret life of an instagrammer “, I finally discovered that the so called “birds-eye-view” photo that I have been attempting this past year is actually called a Flatlay!

So what is a Flatlay?
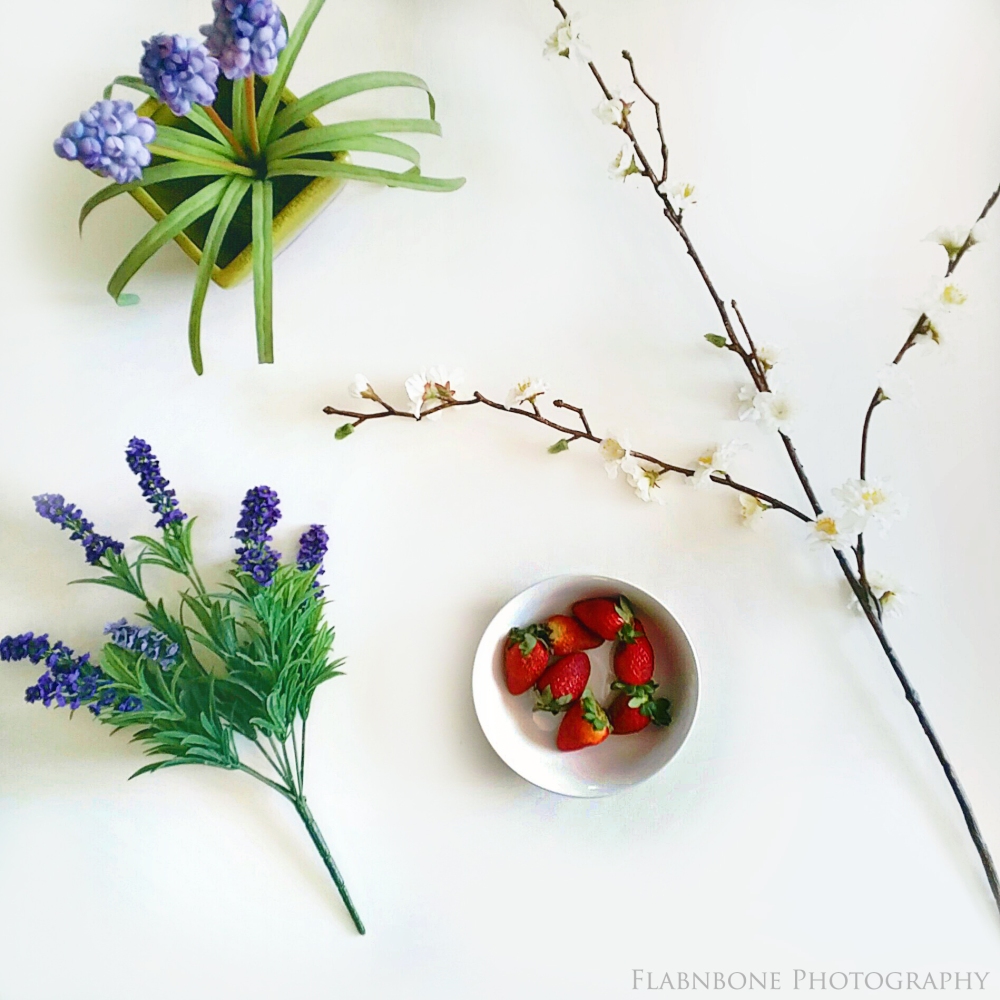
Flatlay photography is when you have everything spread out on the table/floor and you take the photo from bird’s eye view. Most typically it is shot against a white background because who knows why, white looks better perhaps?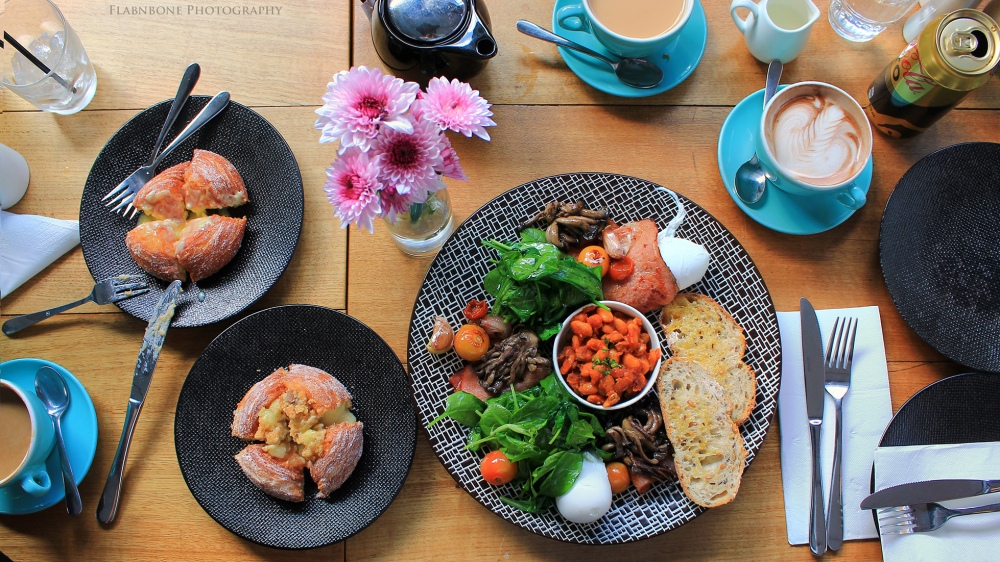

 I have seen lots and lots of photographers on Instagram post photos in this style but I never knew it was called a Flatlay until recently.
Flatlays are the new trend on instagram and like the flock following this trend, I must say I really like it.
Who does Flatlay? And what does Flatlay involve?
Anyone can shoot a Flatlay photo. You can do a flatlay photo of just about anything. It can range from makeup, to fashion, to food, to still-life, to fashion, to stationary, to anything (so long as it is done from a birds-eye-position).
Some notable instagrammers using this style include:
How to do a Flatlay? My 5 Tips 😀
One -Think about the angle you want to shoot from
As discussed above, flatlays are shot from a birds-eye-perspective . This means shooting from above, with the subject below. Usually, I find myself standing on top of a chair, to make sure the angle is just right.
Some objects look good when you shoot from at a 0 degree angle (ie. at eye level with the subject) or at 45 degrees (the camera is slightly above the food) but look bland when you shoot from birds eye. Imagine a mason jug topped with a layer of white yogurt and colored fruits at the bottom. If you shoot from a birds-eye-perspective, you aren’t going to see those layers unless you tip the mason jug on its side.
Two) Consider the background
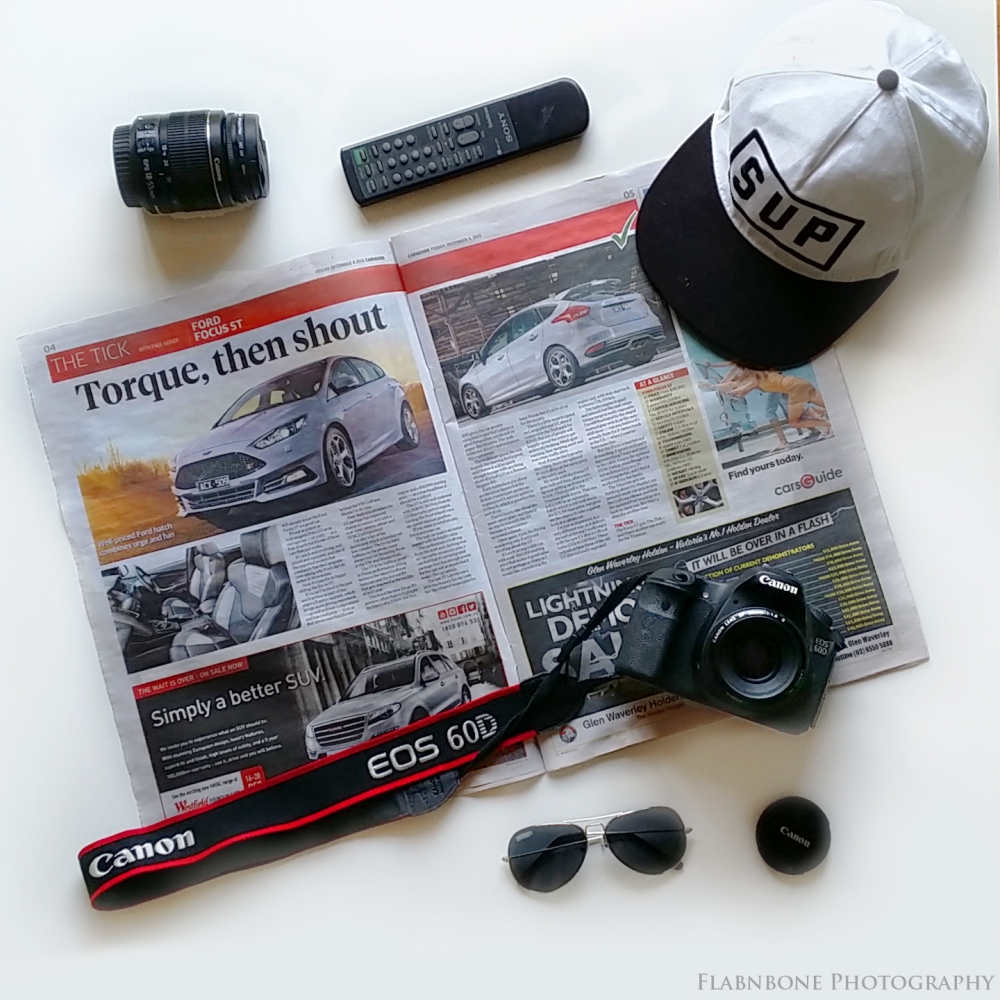
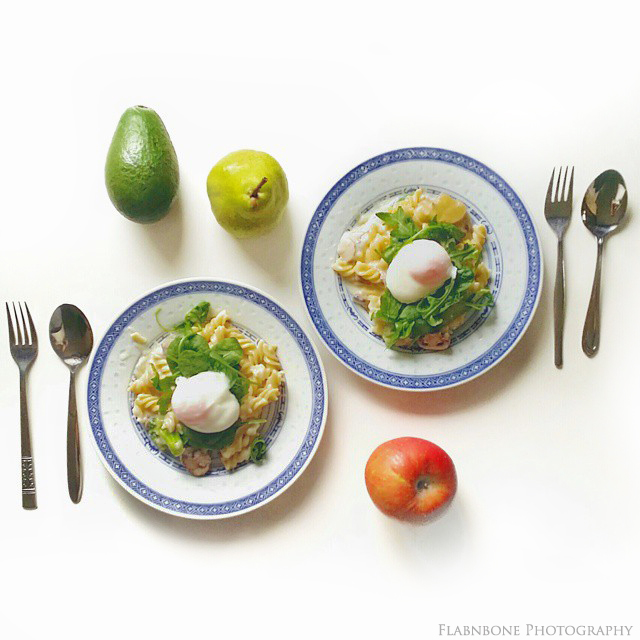
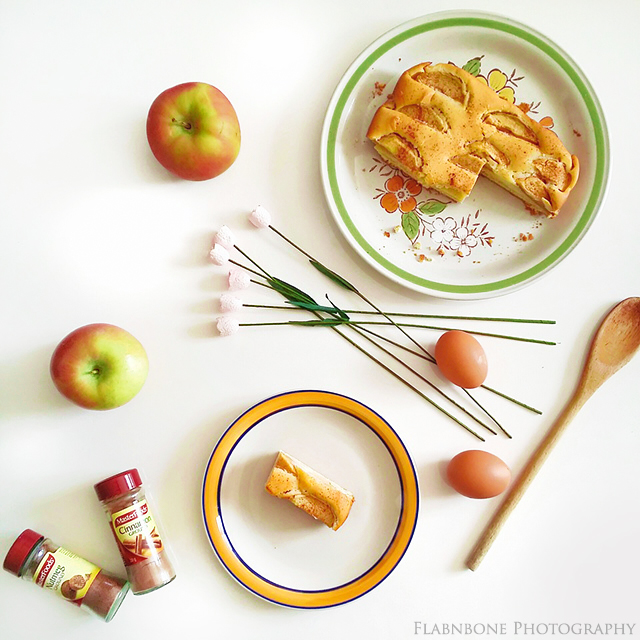
Shooting flatlays are best done on white backgrounds though black, monochrome backgrounds or even wood are good choices. Actually, I rather like wood because it gives the photo a very earthy and rustic feel. It can also be very vintage too.
On the other hand, white makes it look more pure and delicate, elegant even. Below are some examples of flatlays shot against different kinds of backgrounds.


Three) Need for Good Lighting
If anything, this is probably the most important tip of them all. I cannot stress enough the need for good lighting. The best is natural lighting to reduce harsh shadow. Whenever possible, move everything besides a window before you shoot. The worst time to shoot is at night when you can see your shadow and your camera’s shadow as you shoot from above.


Four) Simplicity vs Complexity
How much is enough? Some photographers have tons and tons of objects in their flatlays, from large bulky jewelry to tiny diamonds to add detail. Other photographers take a very minimalist approach with only a few key items. Some only have one item against a white background. It all depends.


Five ) The art of Composition
It’s all about styling and positioning. You may want to leave some space between the items. Think of it as “breathing space”. Do you want everything clattered closely together, or do you want some breathing space between items?
Also think about how you will position items. Will you place the cake next to the eggs, or next to the cup? Will you have blueberries scattered on the table or in a bowl? The sky is the limit when it comes to your composition creativity.

What happens after you have taken the photo?
This is the part where you either hate it or love it. It’s the photo editing part. I use Adobe Photoshop to edit my photos. The main things I do during editing are to create numerous layers of the original photo. I work on different things for each layer. For layer 1, I might work on removing dark shadows by brightening up the white background. For layer 2 I might be focusing on the objects by adding some vibrancy and to ensure the photo is not overly contrasted.
Having said all that, I still have much to learn before I master the art of flatlay photography. For me, the major area I need to work on is figuring out how to reduce those dark shadows. Natural light definitely helps but I still end up with a grayish background at times.
So what are you waiting for? It’s time to join the #flatlay club. Pick up your camera/ phone and add to this hip trend.


I searched about flatlay photography and found your blog on google. Thankyou for your story. I love your pic
LikeLiked by 1 person
Many thanks ☺ Flatlay photography is fun to shoot. Hope you have fun with it too.
LikeLike